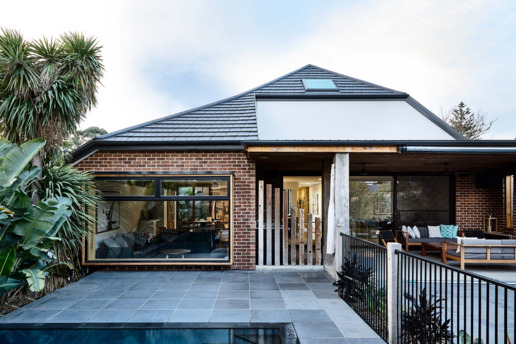
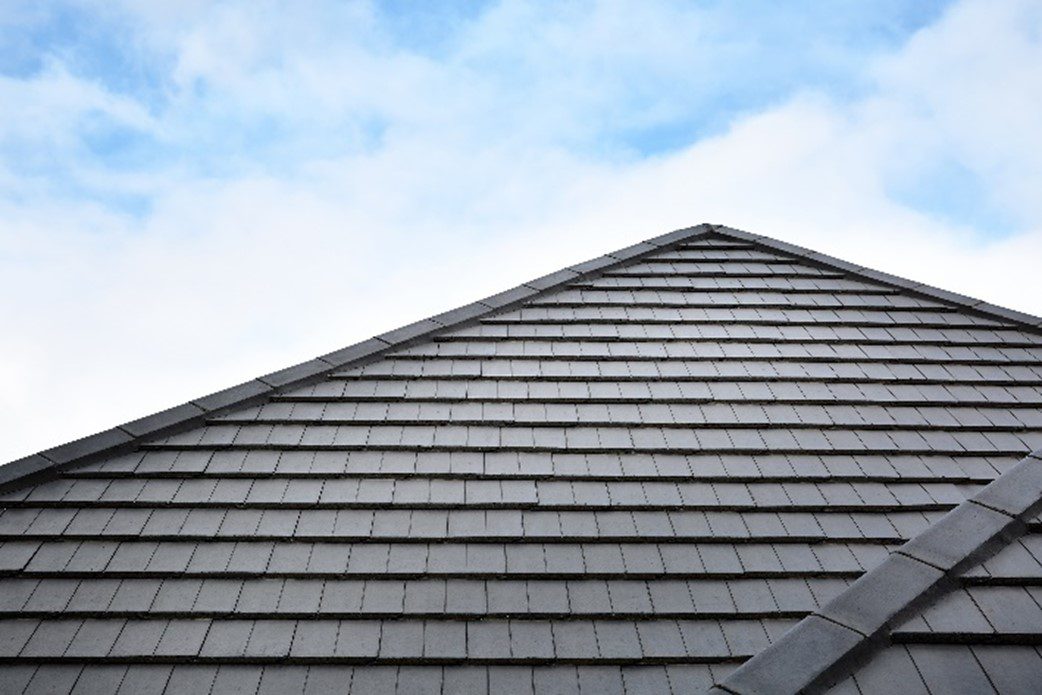
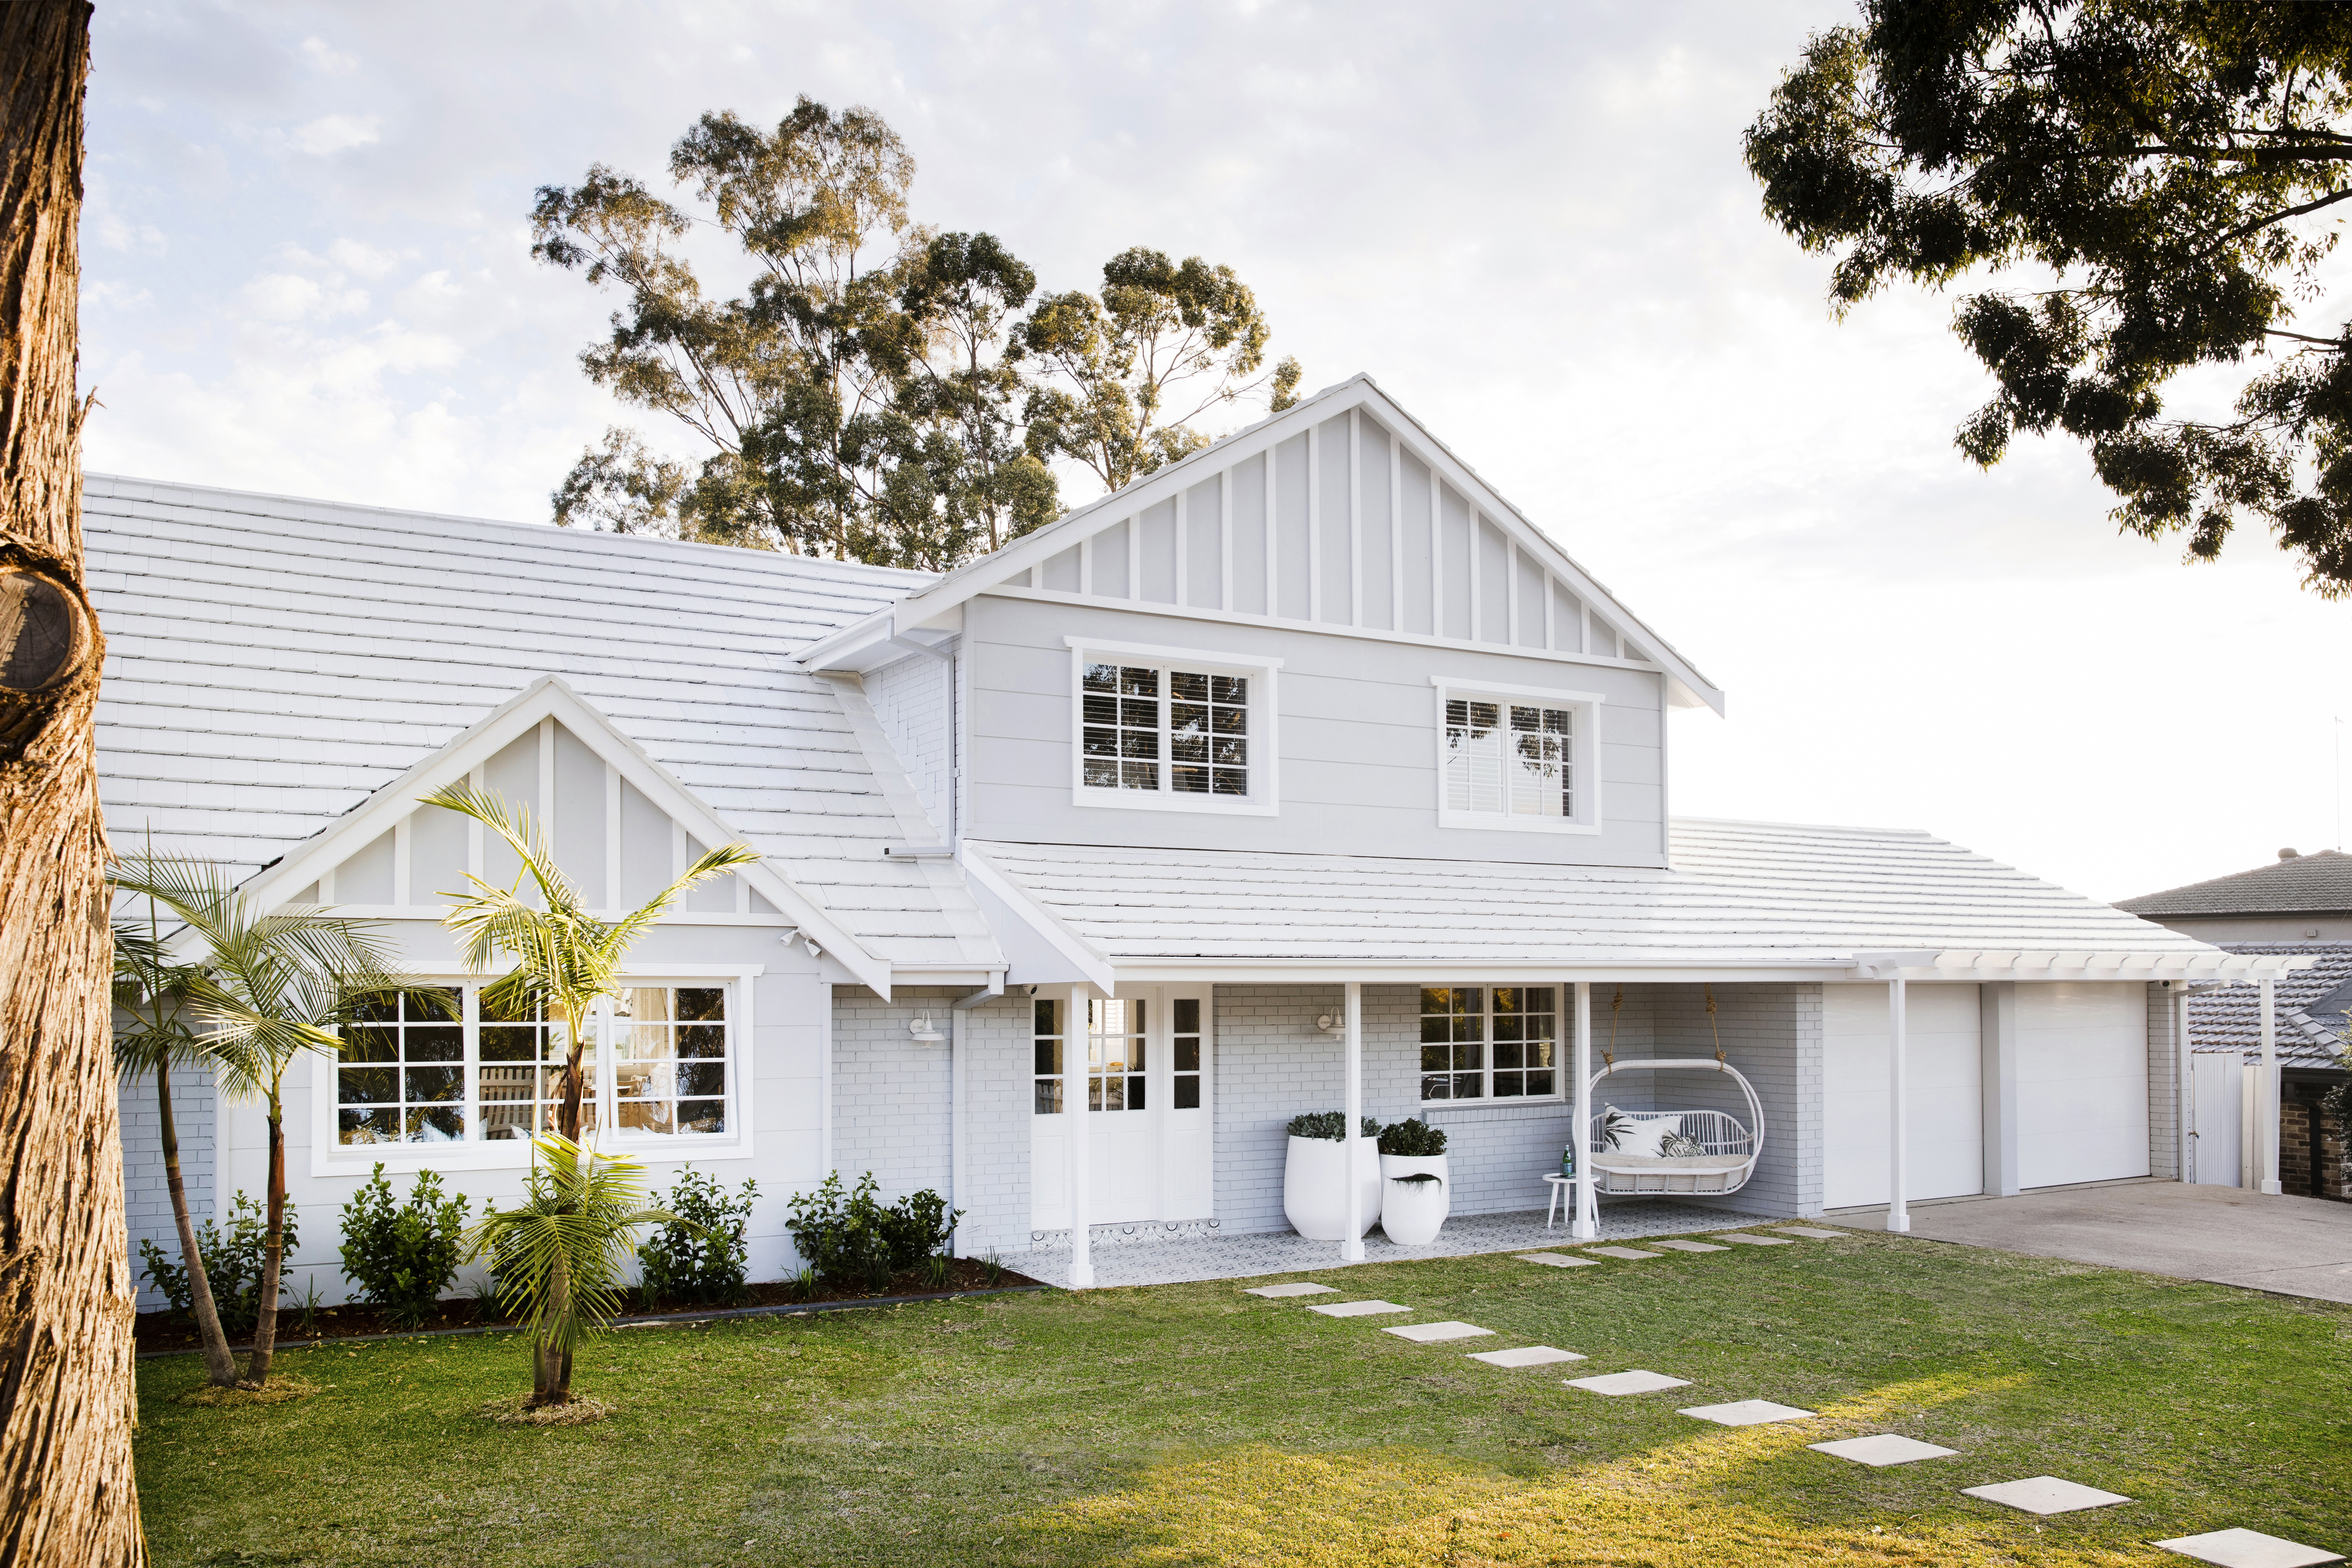

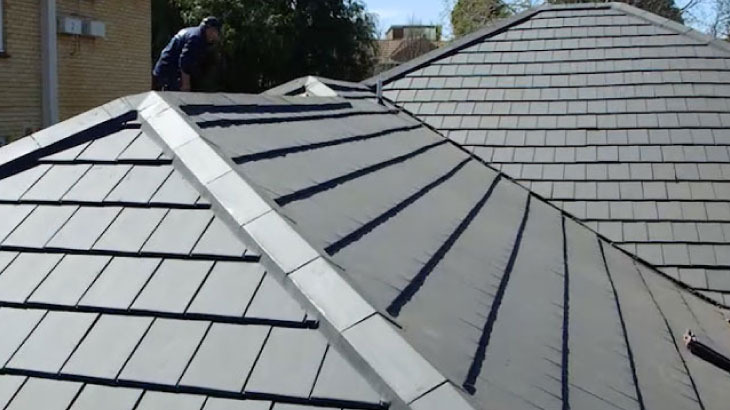
Re-roofing is a great way to refresh the look, performance and value of your home—especially if your current roof is aged, damaged or no longer performing as it should. With a wide range of colours and profiles, Monier concrete and terracotta roof tiles offer long-lasting protection and timeless street appeal.
Why Re-Roof?
A re-roof can dramatically improve your home’s appearance and energy efficiency. It’s also an opportunity to choose a more durable or lower-maintenance material. Whether you’re replacing old tiles, metal sheeting, or asbestos roofing, Monier’s range gives you flexible and stylish options that suit Australian conditions.
Leave It to the Professionals
⚠️ Safety First: Monier strongly recommends that all re-roofing work be carried out by a licensed roofing specialist. Working at heights can be dangerous, and re-roofing requires expert knowledge of roof structure, waterproofing, and installation techniques to ensure safety and compliance.
Structural Considerations
Thinking of switching to a different roofing material? Always seek advice from a roofing professional before making the change. Your roof’s structure and pitch were likely designed for a specific material, and switching to a lighter (or heavier) option may affect how your home performs structurally. In some cases, an engineer’s assessment may be required to ensure it meets building standards and long-term performance expectations.
The Re-roofing process
When you choice Monier, you will be supported every step of the way – from selecting the new roof of your dreams at one of our selection centres to when you are admiring the stunning finished roof. To help you prepare, here is a step by step guide on the re-roofing process.
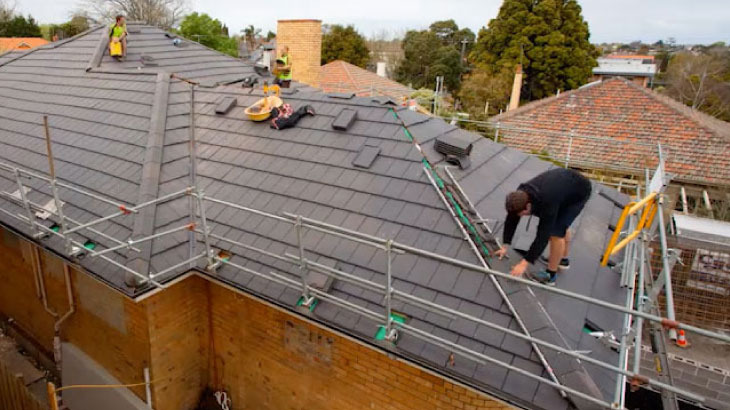
1. Install safety rail
Safety is a priority. Before commencing any work Monier guardrail is installed around the perimeter of the roof.
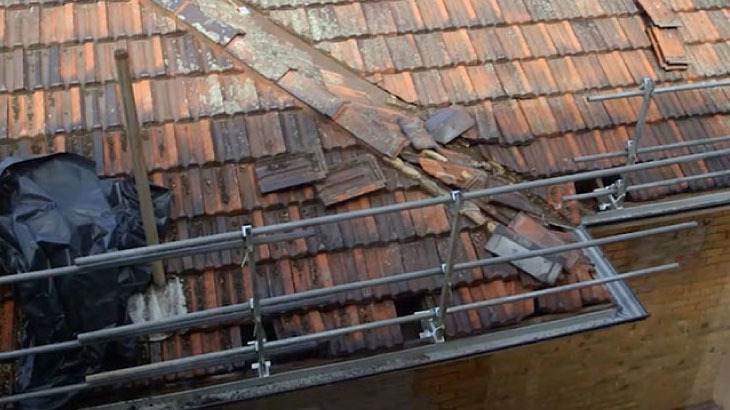
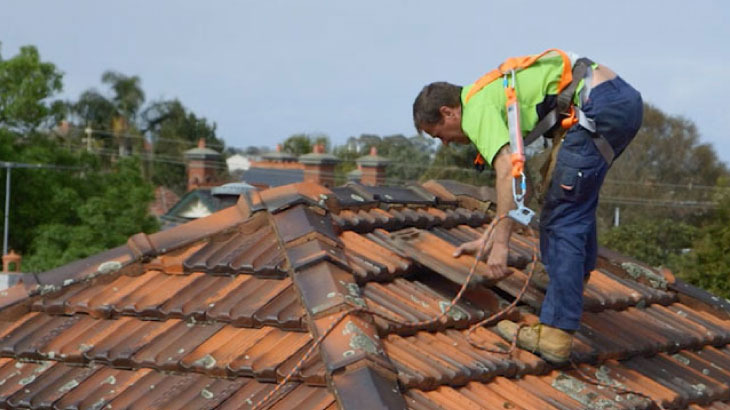
2. Remove old tiles
All the old roof tiles and ridge are removed.
3. Inspect roof
The roof timbers are inspected to make sure the battens are sound.

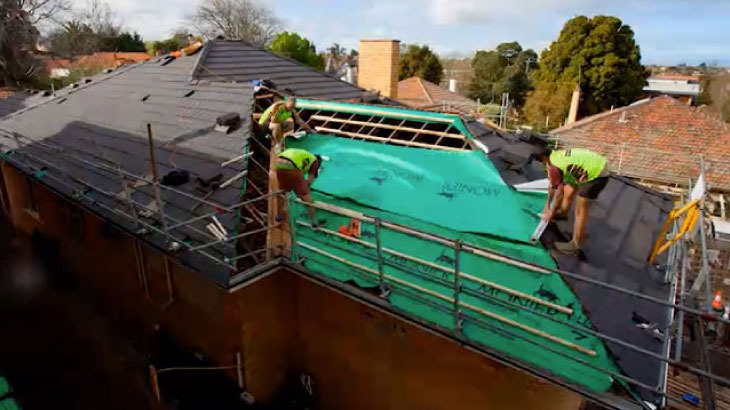
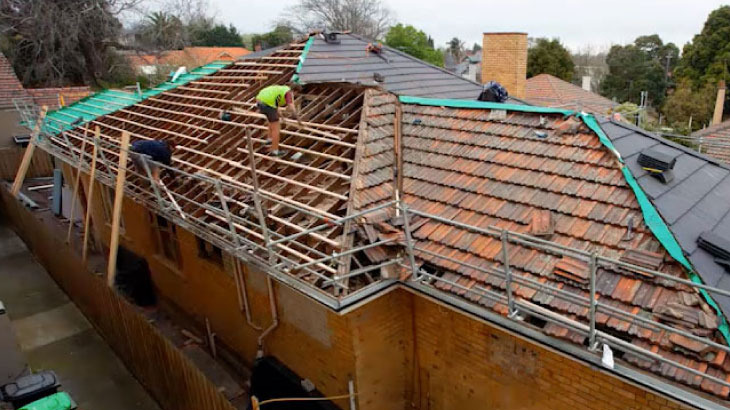
4. Install sarking*
Sarking provides insulation and reflects up to 95% of radiant heat entering the roof.
5. Install new battens**
If required, new battens are installed ready for the new roof tiles to be laid.
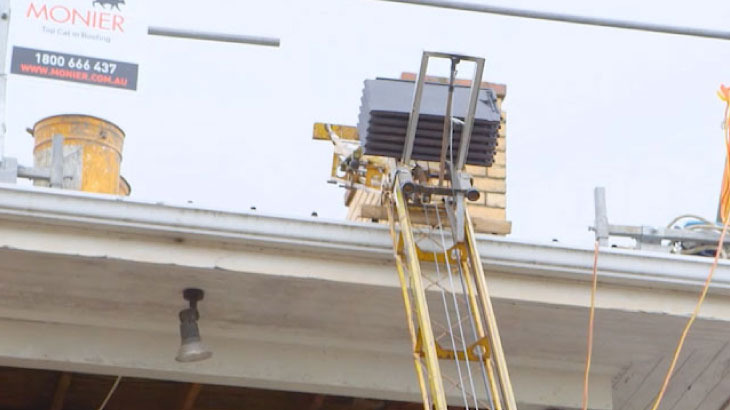
6. Load up new tiles
The new roof tiles are sent up to the roof using a conveyer system.
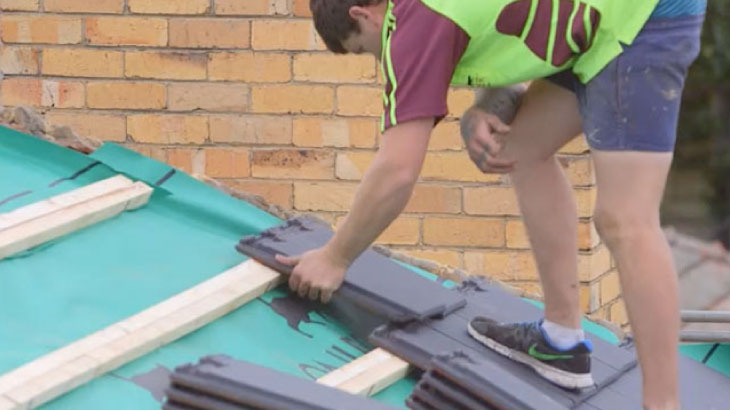
7. Start laying new tiles
Tiles are laid sequentially up the roof from the gutter line and fixing clips, or nails, are used to secure the roof tiles to the roof.
8. Pointing
Pointing is a flexible material that covers the mortar and comes in a colour that matches the roof tile. It acts as a mechanical fastener, keeping the ridge in place. It is also used to finish the tiles at the gable or edge of the roof.
9. Finish
Guard-rail is removed and the site is tidied and any left-over roof tiles removed.
What determines the cost of my roof?
There are a few factors that will determine the cost of having a roof installed.
• What roofing material is being used
• The size of the roof
• Sarking
• The pitch of the roof (it’s steepness)
• Any special requirements
Together these five things will determine the size of the quote and the time it takes to get the job done.
What you need to know
• Time: Construction usually takes around 1-2 days to get a concrete or terracotta tile roof installed, and 1 day for a composite tile roof. (This all depends on how big your roof is and a number of other factors.)
• Our roofers provide a comprehensive roofing service. For specialist services, please view the Find a Roofing Specialist.
• How: Call us on 1800 666 437. We’ll help you sort out the details.